
Manage Library User Access#
Access to a library team starts from the library home page in Studio and is managed in the Roles and Permissions console. This article explains the library roles and how to add and manage members of a library team.
Any change made in the Roles and Permissions console applies to this library only. It does not change what that user can do in other libraries or in courses.
Library Roles#
Libraries use roles to control what each team member can do. See Roles for more detail on the following library roles:
Library User
Library Contributor
Library Author
Library Admin
Access the Roles and Permissions Console#
From the home page of the library in Studio, select the ⓘ Library Info button on the top right of the page to open the right sidebar.

In the right sidebar, select Manage Access. This opens the Roles and Permissions console in a new browser tab, filtered to this library’s team.
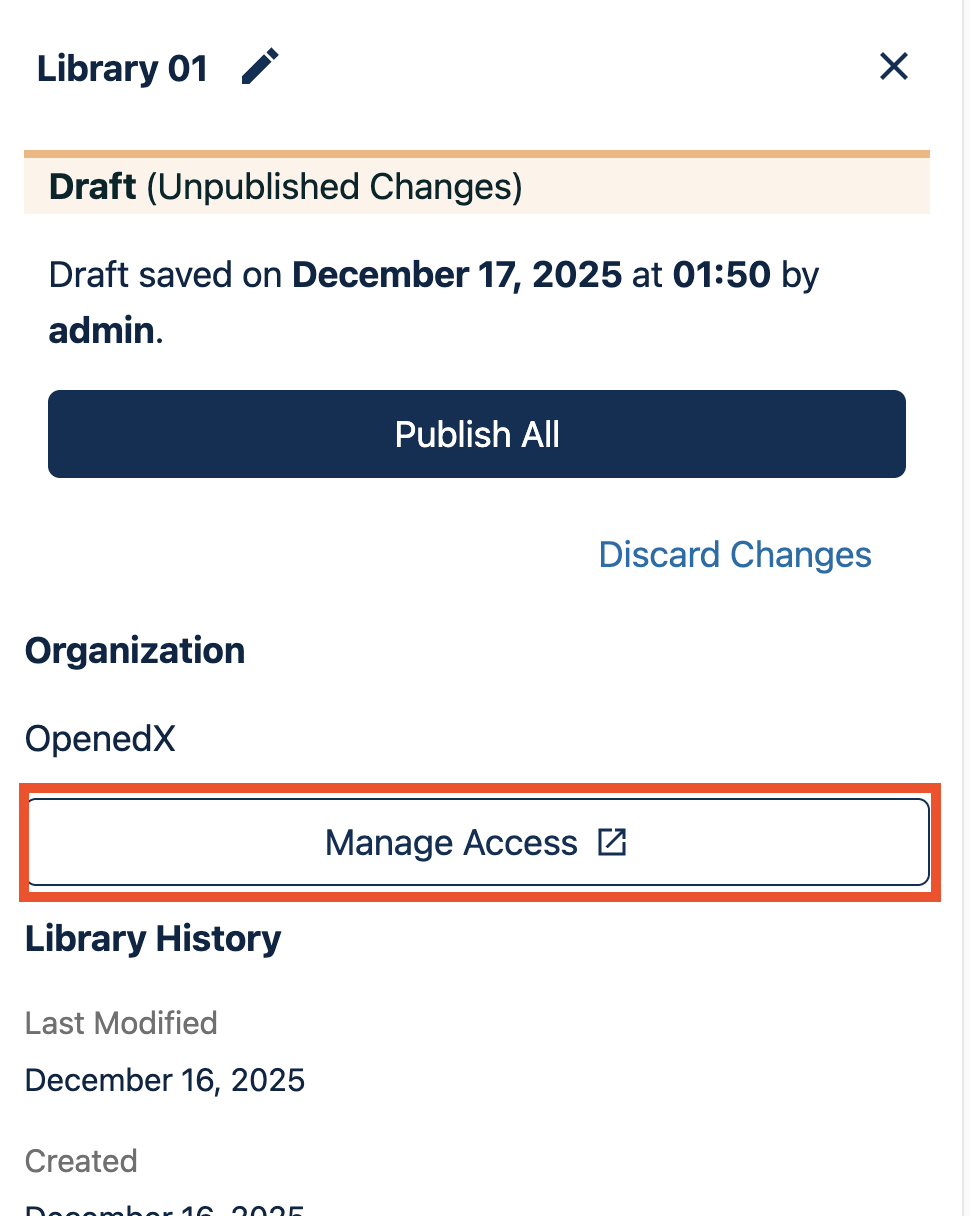
For a full description of the console’s tabs, filters, and audit view, see Use Roles and Permissions Console.
Find and Audit Team Members#
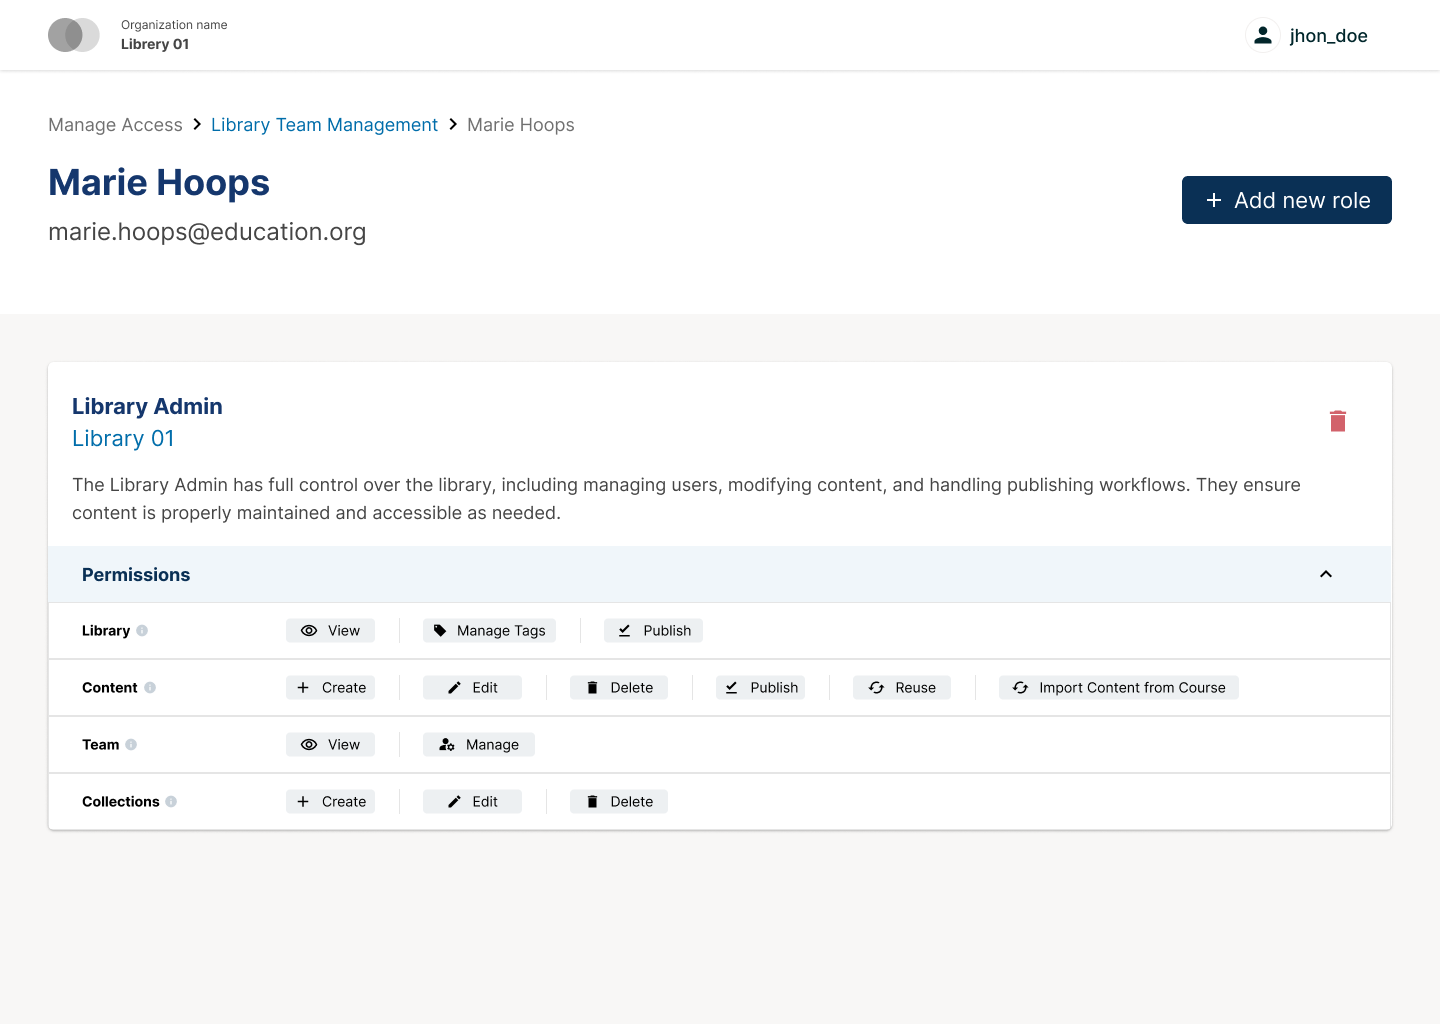
Use search or filters to find a team member. Select the option in the Actions column to open their audit view, which shows their current role and the permissions it grants for this library.
Assign a Role#
Only Library Admins and global site admins can assign roles.
In the Roles and Permissions console, select Assign Role.
This opens the Assign Role wizard. Use it both to add a new team member and to give an existing team member an additional role.
In Step 1: Who and Role, enter one or more usernames or email addresses, separated by commas, and select the role to assign: Library Admin, Library Author, Library Contributor, or Library User.
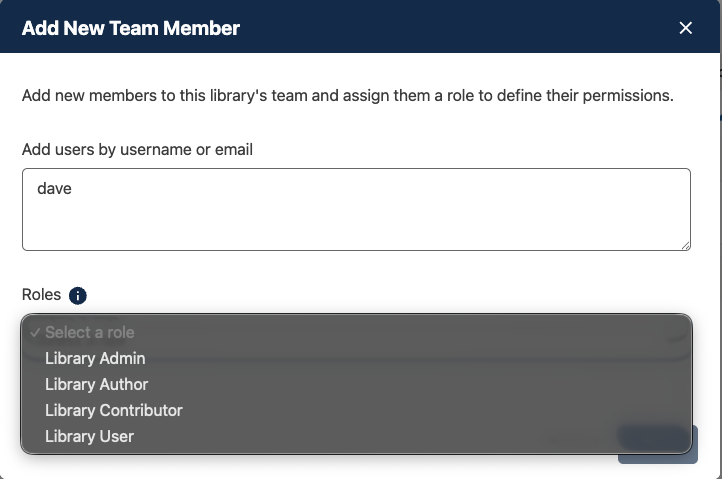
Users must have an existing account. If any entry does not match a user, the input shows an error for that entry and blocks the flow until corrected.
Select Next.
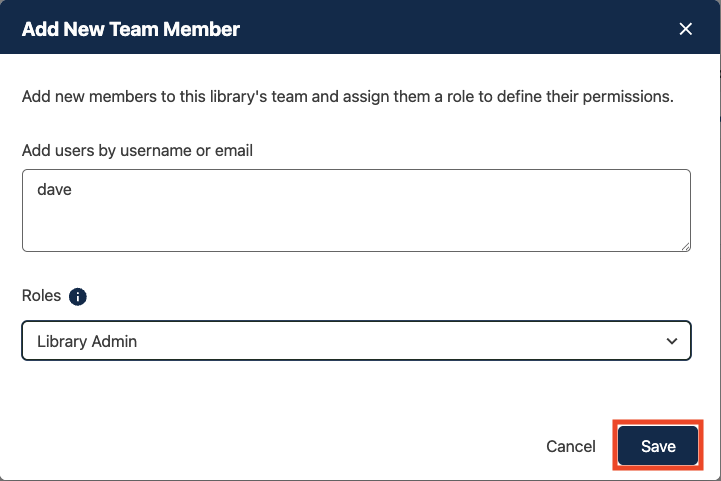
In Step 2: Where It Applies, select this library to apply the role to.
Select Save. After saving, the new role assignments appear in the team table.
Remove a Role#
Library Admins and global site admins can remove role assignments.
In the team members list, find the user whose role you want to remove and select the option to open their audit view.
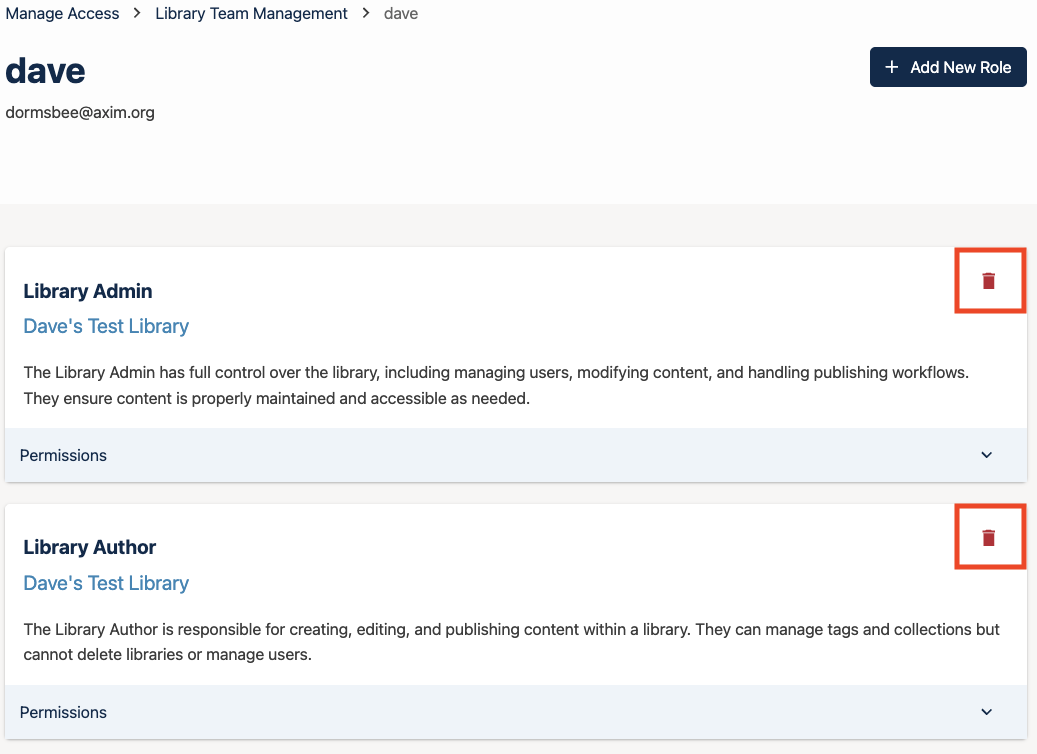
In the audit view, find the role to remove and select the option to remove that role.
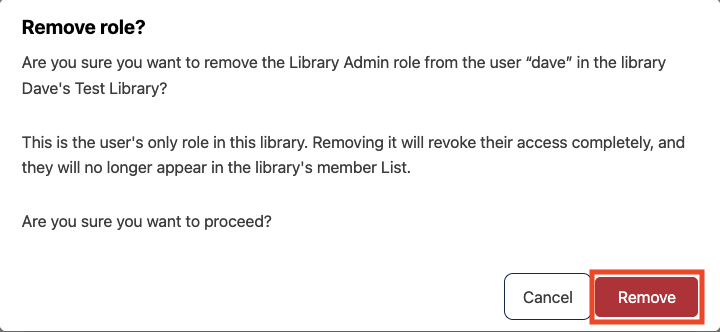
Review the confirmation message and select Remove to confirm, or Cancel to keep the current assignment.
Note
After a role is removed, if the user has no roles left for this library, they will no longer have access and will stop appearing in the team list. Their roles in other libraries or courses are not affected.
Note
With Verawood, this same Roles and Permissions console can also manage course team roles, if your site has enabled Course Authoring. See Manage Course Authoring Roles for the equivalent course workflow. This doesn’t change how library access works — everything above applies the same way whether or not Course Authoring is enabled.
See also
Create and edit content in a Library
Create and edit units in a Library
Build a Collection in a Library
Search for content in a Library
Use content sidebars to manage content
Add and Delete tags in Library content
Add Library content to a course
Sync a Library update to your course
Add a Problem Bank to your course for randomization
Use Roles and Permissions Console (how-to)
Manage Course Authoring Roles (how-to)
Maintenance chart
Review Date |
Working Group Reviewer |
Release |
Test situation |
2025-07-30 |
eduNEXT |
Verawood |
Pass |
2025-12-11 |
Product WG |
Ulmo |
Pass |
07/02/2025 |
Leira (Curricu.me) |
Sumac |
Pass |